Ditch the Old Rules: The Tour-Proven Bunker Technique That Actually Works
For years, you've been told to do a bunch of confusing things—like opening the clubface wide open and swiping across the ball—that just don’t work for the average golfer. It’s an old-school approach designed for old-school wedges.
But at Imagen Golf, we don’t teach that. We teach the new-school bunker technique that the best players in the world are using every week to make bunker shots look easy. Players like Scottie Scheffler, Jon Rahm, and Collin Morikawa have all ditched the old rules for a simpler, more powerful way to get the ball up and down.
The Flaw in Old-School Bunker Advice
The traditional bunker instruction—open the clubface, open the stance, and swing across it—was a Band-Aid for a problem that no longer exists. Older wedges had less bounce, making them more prone to digging into the sand. The crazy open-stance, open-clubface approach was a workaround to help the club slide under the ball.
But modern wedges have more bounce and better technology. Trying to use that old technique with a new wedge is like trying to drive a Formula 1 car with a horse and buggy. You're making a simple shot far too complicated.
How We Teach the New-School Bunker Technique
At Imagen Golf, we believe in a simple, repeatable process. We teach a setup that promotes a natural, powerful swing, not one that requires a bunch of compensations. Here’s what we focus on:
- Square or Slightly Closed Stance: Instead of aiming your feet way left, we have you set up with a square or even slightly closed stance. This moves your weight naturally onto your lead leg, which helps you hit down into the sand with authority. As Collin Morikawa puts it, dropping your trail foot back “forces me to turn around my lead leg, and steepens my swing just enough to put the low point in the perfect spot.”
- Hands Lower to the Ground: We teach you to drop your hands at address. This simple move allows you to open the clubface just enough without pointing it way out to the right. It keeps the face in a more neutral position, so you can use the bounce of the wedge to your advantage and prevent the club from digging.
This new bunker shot setup is designed to simplify your motion. By setting up correctly, you don’t have to think about a bunch of complex movements. You can just make a natural, aggressive swing and let the club do the work.
We’re not just teaching you how to get out of the sand; we’re teaching you how to get up and down more often, build confidence, and lower your scores. It’s time to stop fearing the bunker and start seeing it as an opportunity.
This is Golf as You've Always Imagined!
Daniel is a Top 100 Golf Coach, The #1 Golf Instructor in PA, PXG Staff Pro, World Long Drive Coach and the Head of Golf Instruction at IMAGEN Golf the area's leading golf instruction and advisory firm, host of the IMAGEN Golf podcast and Best-Selling Author of "Unleash The Golfer Within".
For more information call 215-595-6299
Reach out to Daniel directly at: Daniel@ImagenGolf.com
For free golf tips and more listen to The IMAGEN Golf Podcast on Spotify, Apple Podcast or wherever you get your podcasts and follow us:
- Instagram @Imagengolf
- Twitter @imagengolf
- Facebook Imagengolf
- TikTok @ImagenGolf
- Youtube ImagenGolf
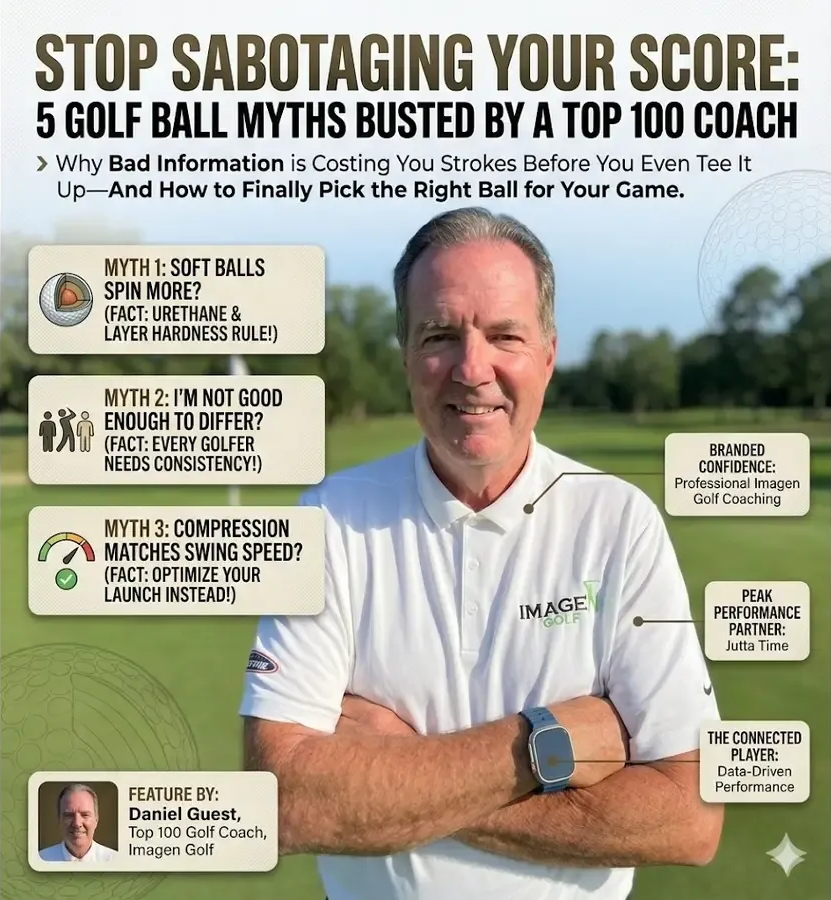
Stop letting bad equipment advice ruin your rounds. Discover the truth about spin, compression, and the fastest way to dial in your distance Hey everyone, Daniel Guest here from Imagen Golf. If you've spent any time on the lesson tee with me, you know I’m passionate about controlling the variables you can control. Golf is hard enough. But out in the equipment world, there is an absolute avalanche of bad information—especially when it comes to the one piece of equipment you use on literally every single shot: the golf ball. When you play based on bad info, you make bad decisions. And bad decisions cost you strokes before you even tee it up. Today, we are putting the five biggest golf ball myths to bed so you can start playing with confidence, consistency, and a strategy that actually lowers your scores. Let’s get into it.

How to Get 40 Extra Yards of Carry Distance Without Swinging a Single MPH Faster.

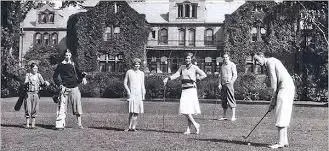
Daniel Guest grew up surrounded by golf. His great, great grandfather played professionally in Scotland, and his great-uncle, Thomas Fischer, became the first golf professional at the DuPont Country Club in Wilmington, Delaware.

As the founder of Imagen Golf, Daniel Guest has redefined how players learn, practice, and experience the game.

Top 100 Coach Daniel Guest combines Trackman iO, app-based lesson storage, and remote weekly check-ins to provide 24/7 coaching support.
If you tried to book a Saturday morning tee time recently and found yourself staring at a screen that looked more like a sold-out Taylor Swift concert than a municipal golf course, you aren’t alone. According to a year-end message from the National Golf Foundation (NGF), more people are playing golf in more ways than at any time in recorded history. For the crusty veteran who misses the days of the four-hour round and empty fairways, this might sound like a nightmare. But for anyone who loves the vitality, future, and "cool factor" of our sport, we are officially living in the Golden Age of Golf. Here is what the numbers actually mean for your game, your wallet, and that lukewarm hot dog at the turn.

The calendar page is about to flip, and with it, the conversation that's been bubbling beneath the surface of the golf world is set to boil over: Tiger Woods turns 50 on December 30th. That golden birthday means a gold-plated invite to the PGA Tour Champions. As President of Imagen Golf, I've spent years analyzing swings, but with Tiger, we're not just looking at a swing—we're analyzing the DNA of a champion's competitive spirit, and that is where the real story lies.
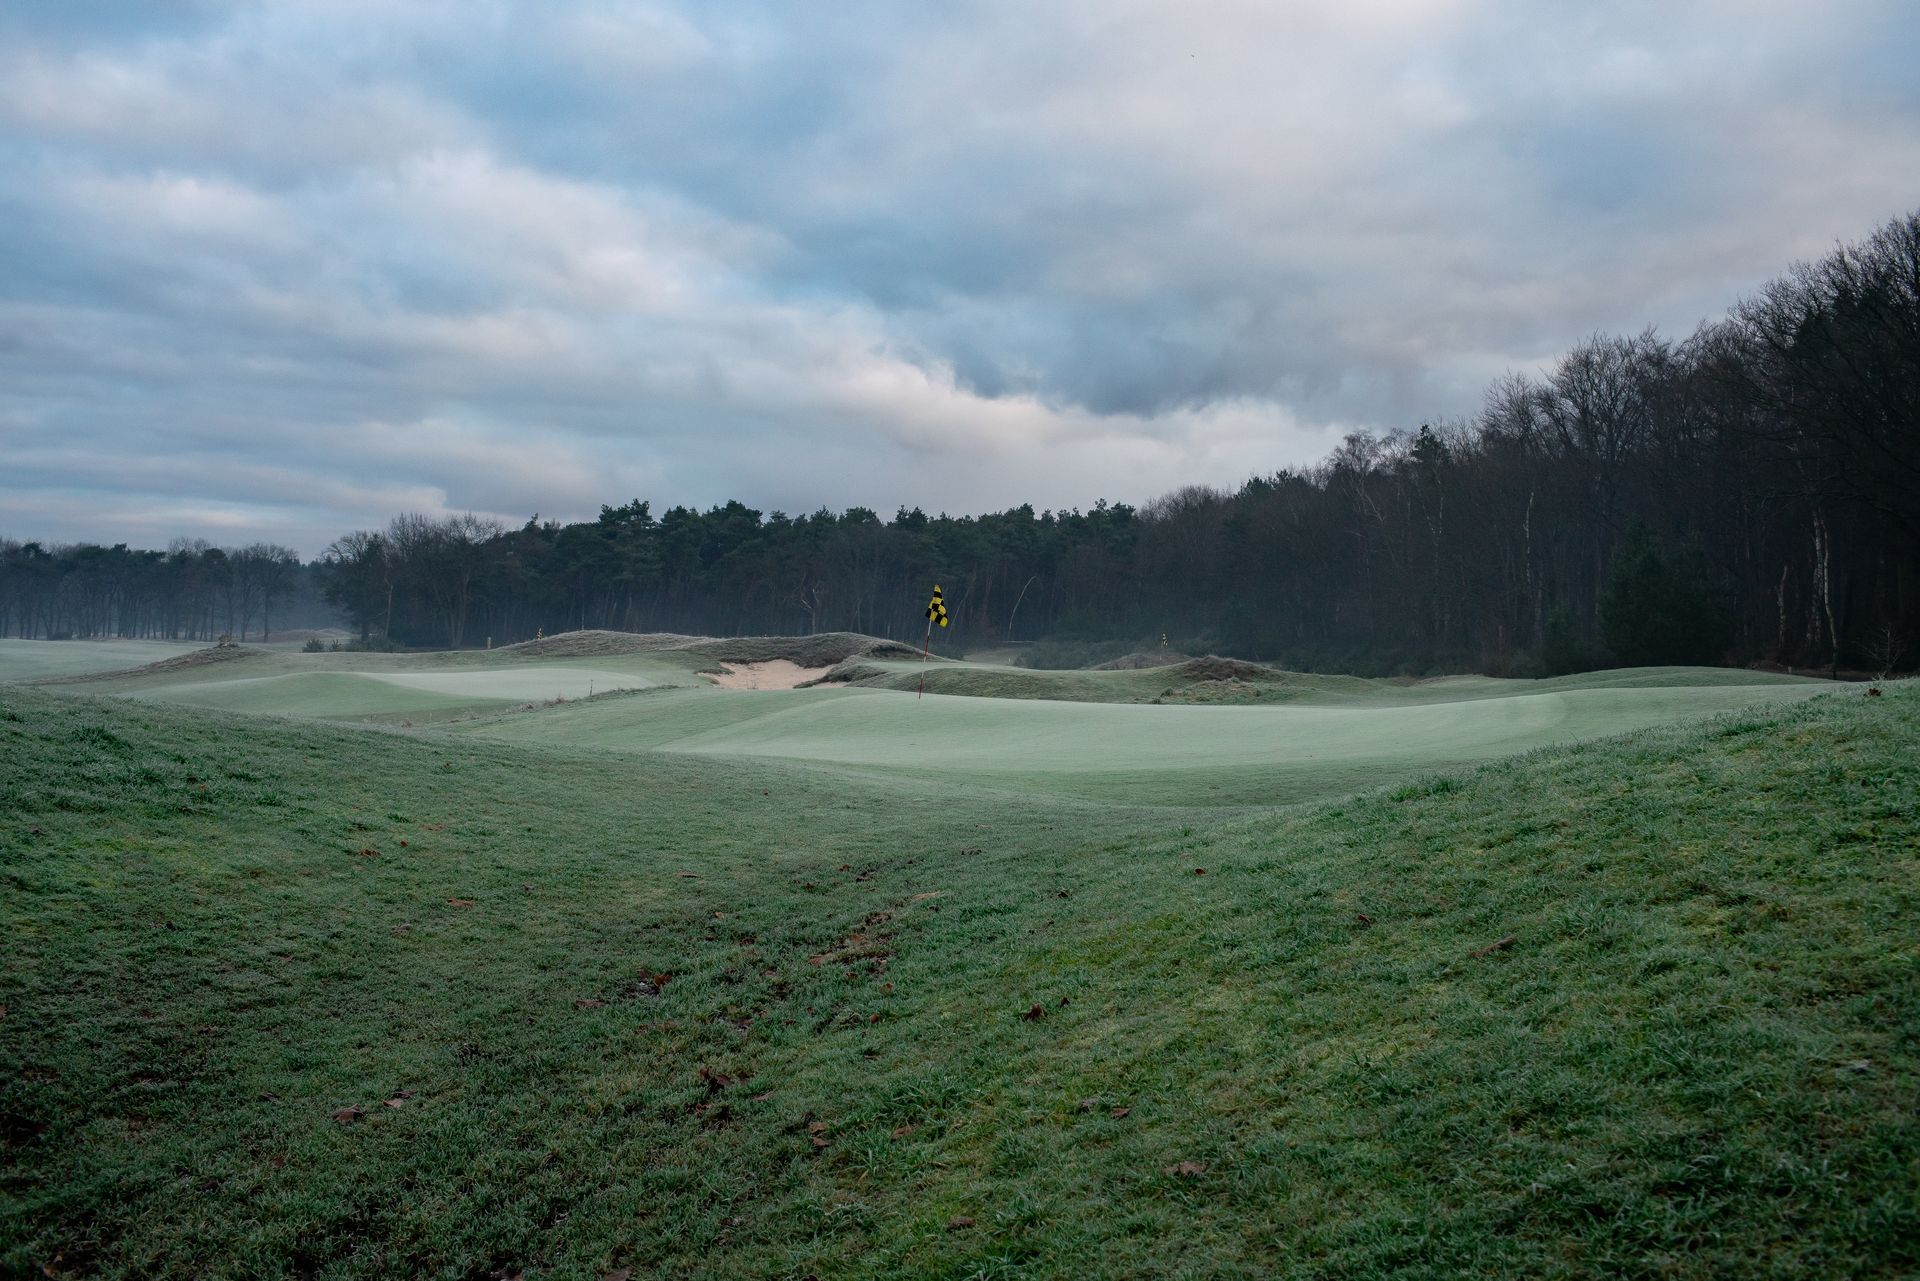
Hello, I'm Daniel Guest from Imagen Golf, and today we're tackling a topic that chills many golfers: playing in the cold. It’s not just you; the cold weather fundamentally changes how your equipment—specifically the golf ball—performs, and that directly impacts your shot.1 Understanding these effects is the first step toward better cold-weather scoring.
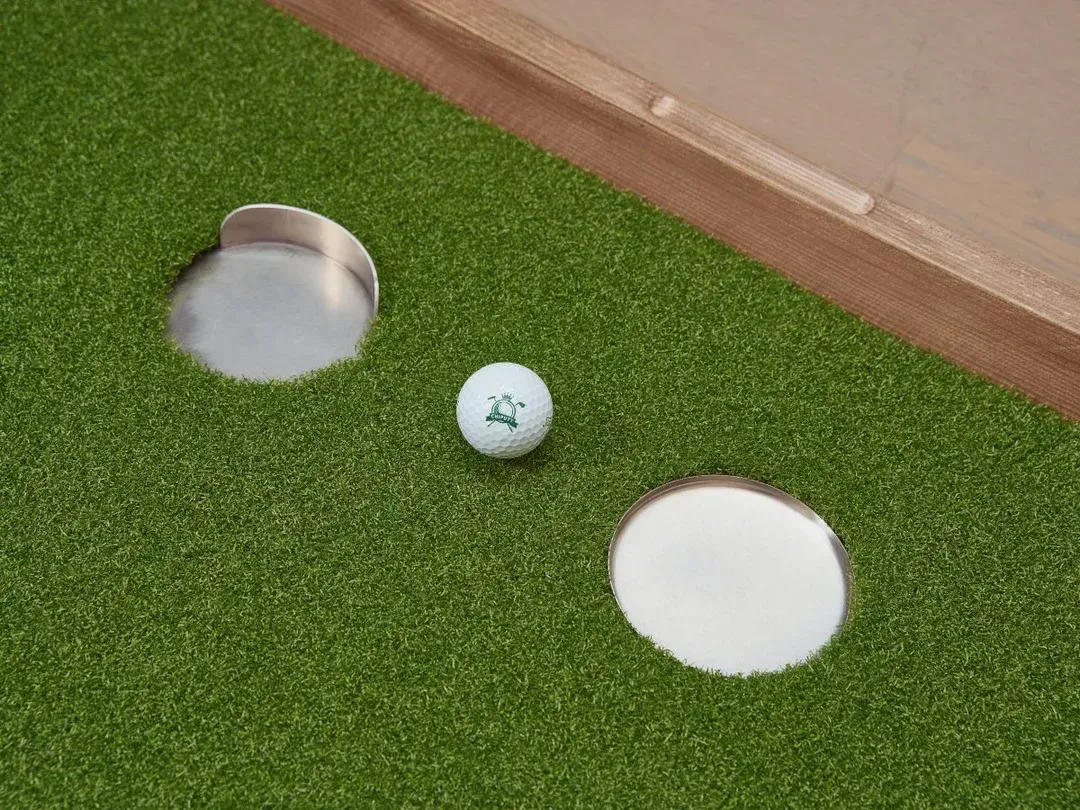
Expert short game lesson guidance for Newtown residents. Learn how to choose the right golf instructor and what to expect from quality short game instruction.

Expert outdoor golf lesson guidance for Lansdale residents. Learn how to choose the right golf instructor and what to expect from quality outdoor instruction.